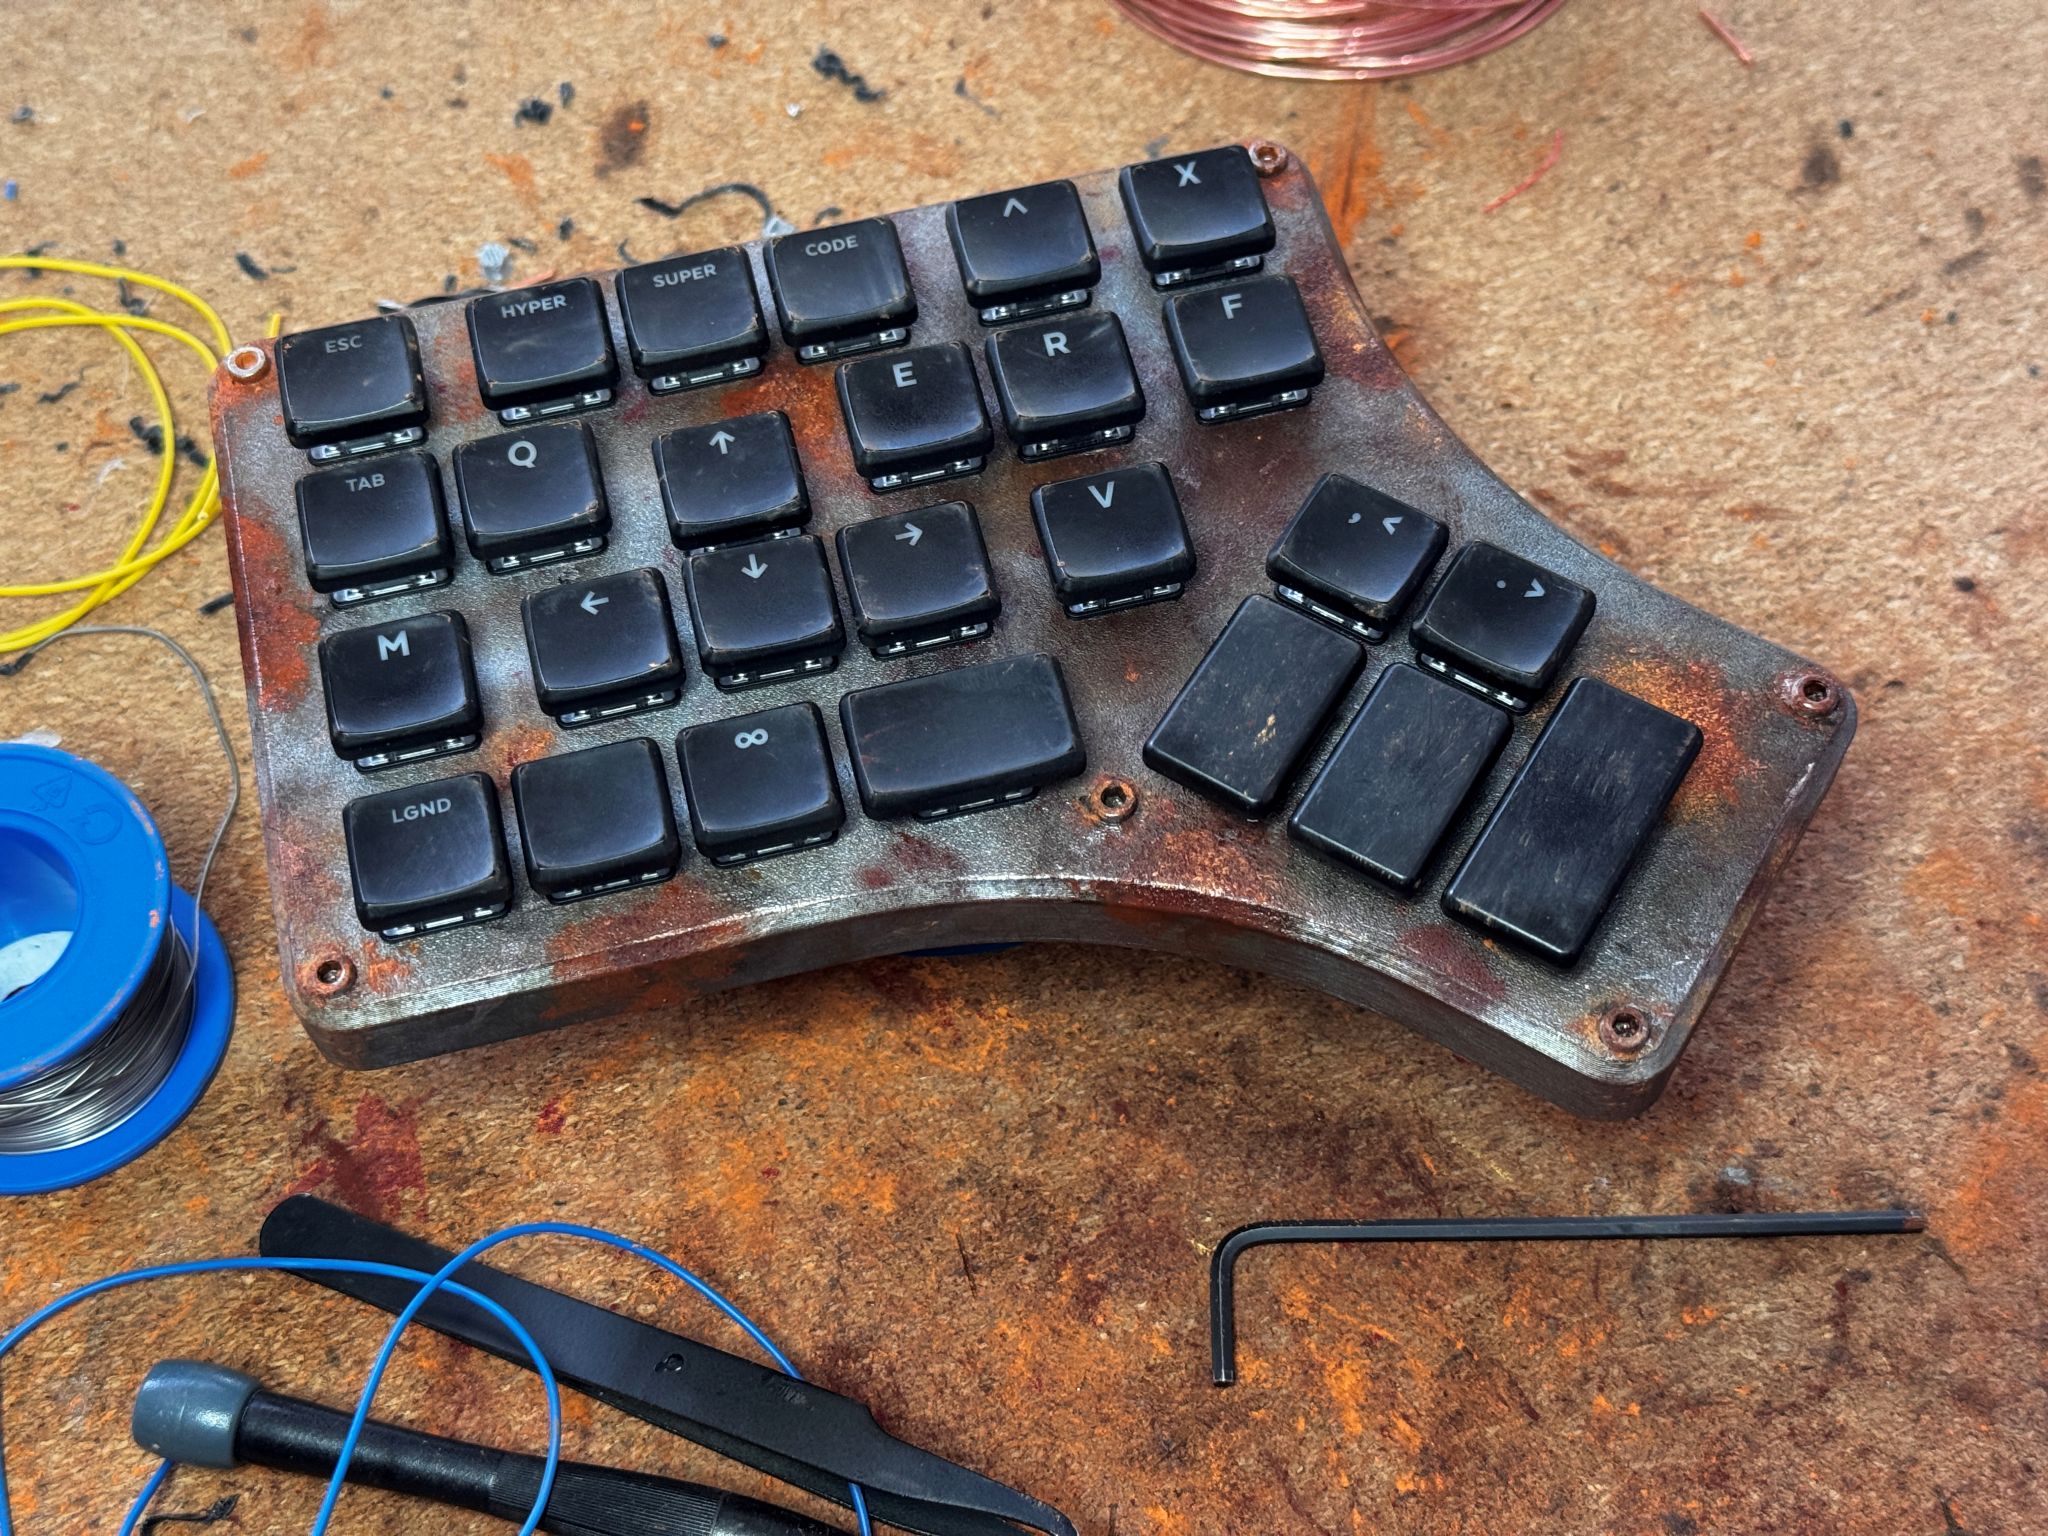
Despite owning a beast of a PC with a chonky GPU, I'm not really one for gaming and like to spend my time tinkering and designing items for the real world. However, a good friend gifted me a copy of Arc Raiders back in November, and I've been absolutely hooked ever since. The game rewards my prefered stealthy play style and is set in a post-apocolytpic earth that has been taken over by advanced robots called "the ARC" (which if you know me, you'll know I love robots and dark future stories so this is right up my alley). The only downside for me was that my existing 40% split keyboard didn't work nicely for gaming and I just couldn't get quick, acurate shots off using a gamepad. So I did what any self-respecting maker nerd would do and built myself a one-handed gaming keyboard and gave it a grungy, post-apocolyptic paint job to make it feel like an artifact from the game.
After sharing it on a few Reddit subs dedicated to Arc Raiders and Mechanical keyboards, a lot of folks expressed interest in building their own, so I shared the model files and this guide.
What you will need
- 3D printed parts
- 6 × 15mm M3 machine screws (hex head for the vibes)
- 26 mechanical key switches (I prefer low profile switches but normal MX are fine too)
- Keycaps (23 × 1u, 2 × 1.5u, 1 × 2u)
- 26 1N4148 diodes
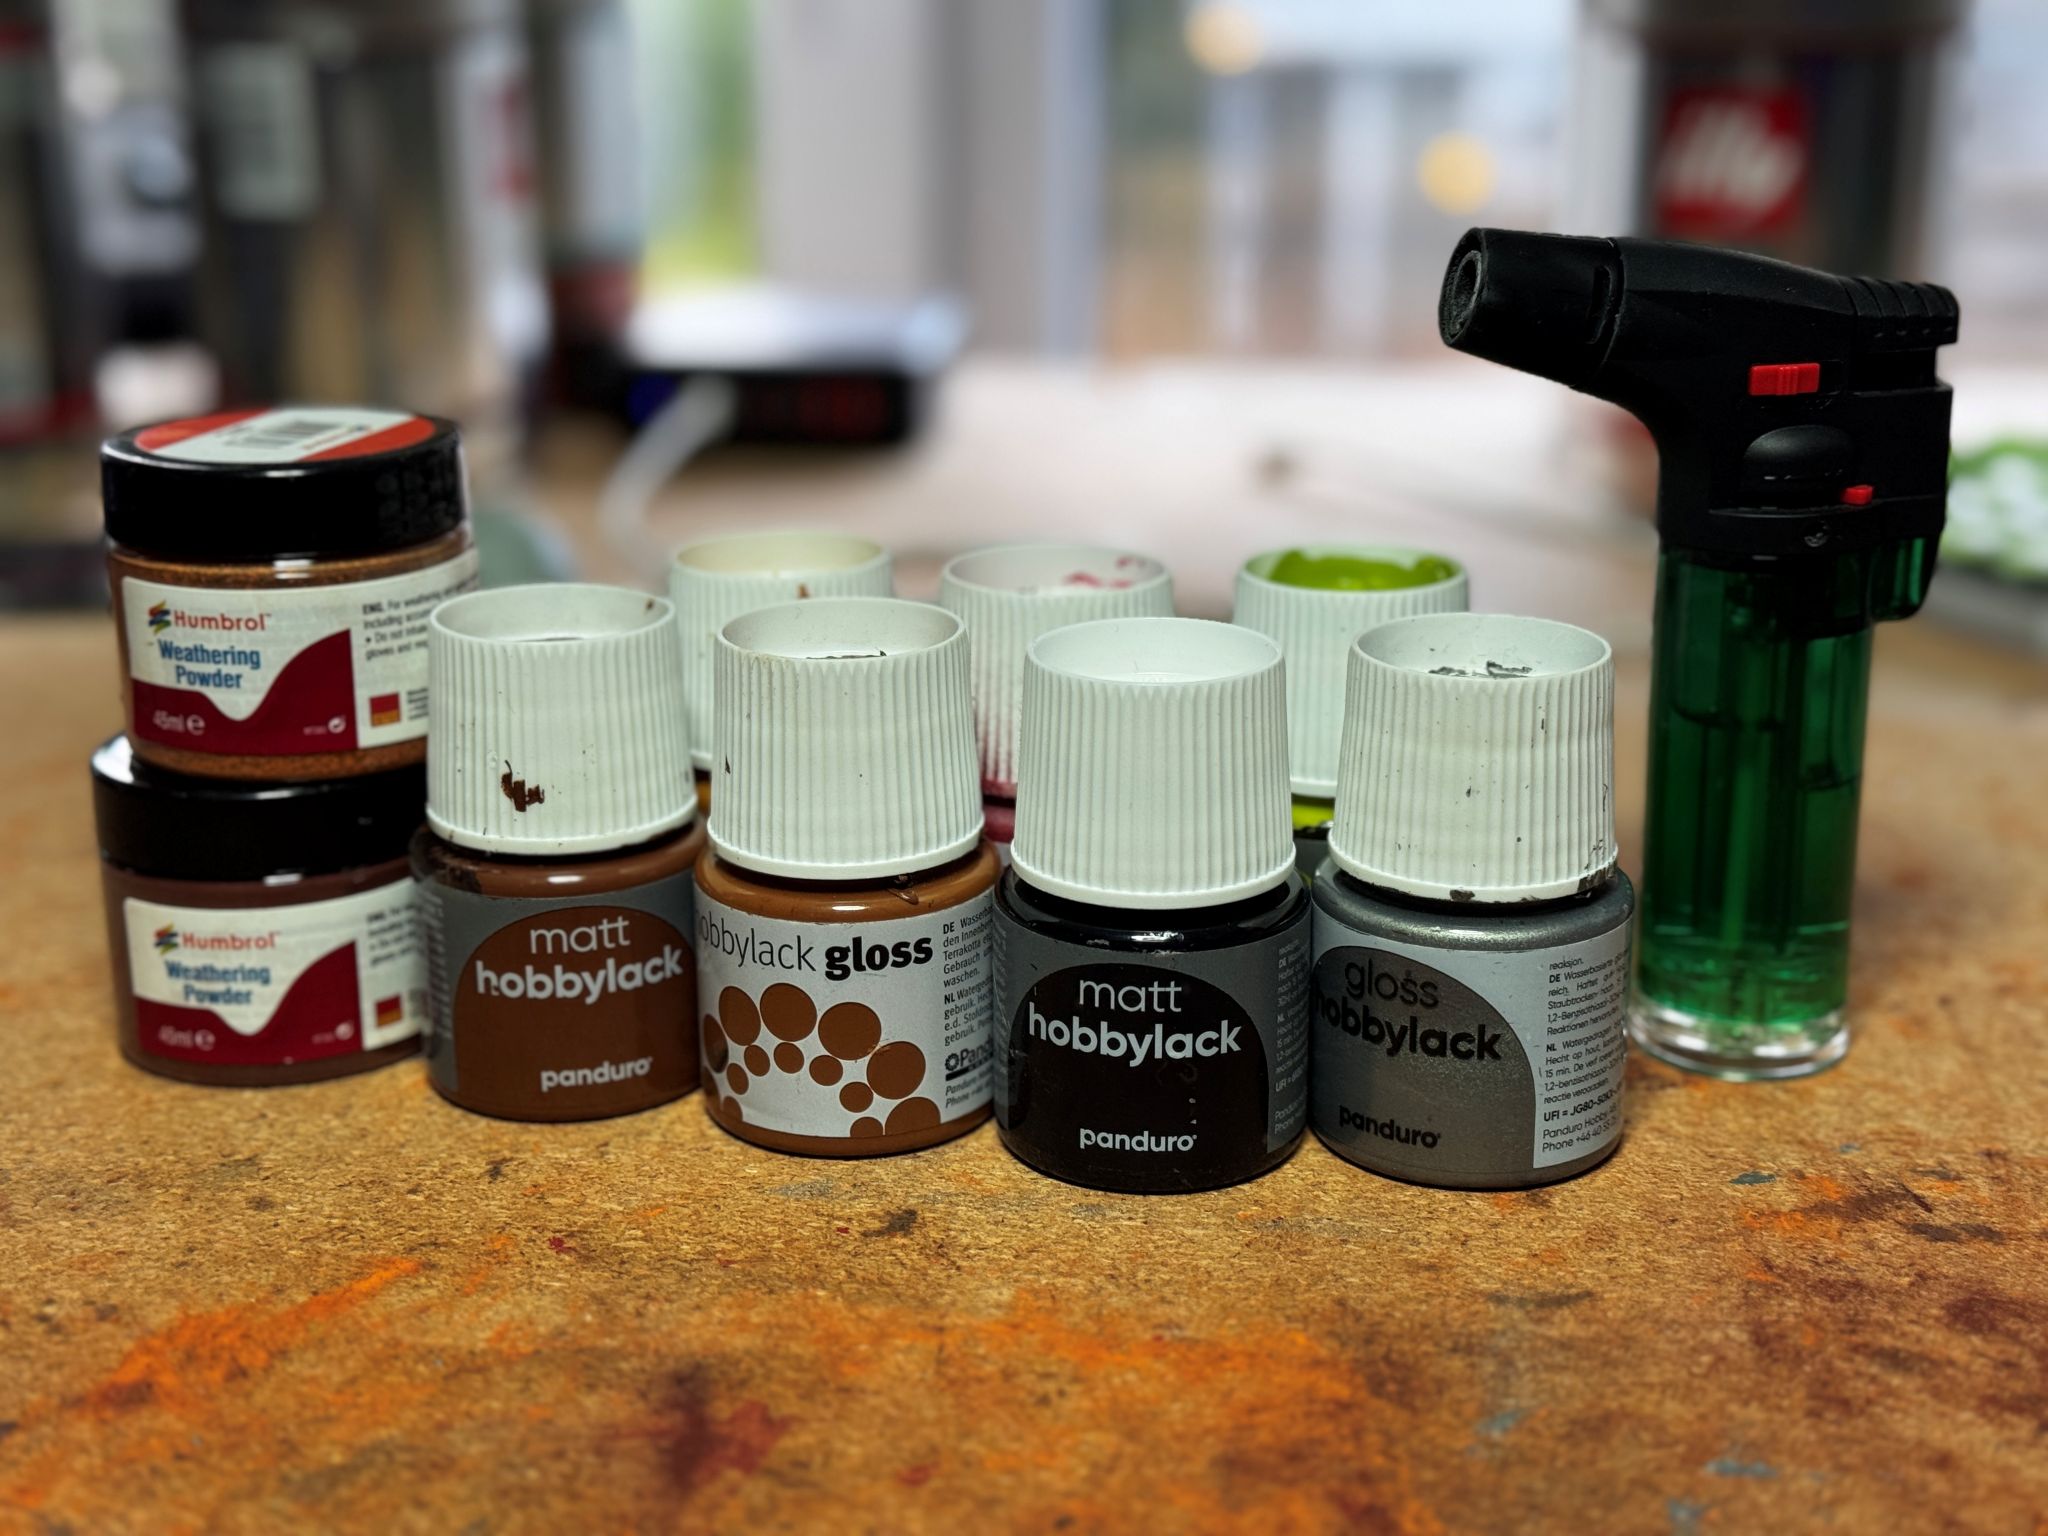
- Acrylic paints
- Jet lighter
- Paint brushes
- Weathering powder (or make your own with chalk pastels)
- Clear matte spray varnish
- PVA glue / mod podge
- Solder and soldering iron (solder paste optional)
- 1.5mm copper wire
- 1.2mm flexible silicone wire
- 1 × Waveshare RP2040 Zero microcontroller
- Hot glue / UV resin (for mounting the controller)
As I'm in the Netherlands, I use Panduro "hobbylack" paints from a store called Pipoos, however Panduro stores can be found all over the Nordics and Benelux regions and these paints can also be found at HobbyCraft in the United Kingdom. If you don't have access to these stores, any decent acrylic paint designed for modelling will be fine (just don't get cheap, thin paints designed for paper/canvas).
For electrical parts and 3D printer filament, my go-to store is TinyTronics and keyboard components I usually buy from SplitKB.
3D print the enclosure
This is probably the easiest part. The model files are available from my profile over on Printables. You can print the enclosure using almost any filament (I have made the keyboard using both PLA and PETG). If you want to paint the keyboard, I suggest a black filament as this base coat will slightly darken the silver paints, giving it a more industrial vibe.
To make the keyboard strong, I normally increase the number of walls/perimeters to around 5 and ensure top and bottom layers are set to at least 5, with a dense 25% gyroid infill. I also like to use the "only 1 perimeter on first layer" option, especially for unpainted projects.
I recommend ensuring that the back of the keyboard is at the back of your build plate as most slicers tend to put the seams at the rear of the model (and you don't want them on show at the front!).
The model should come in the correct orientation, but if not, ensure you print with the top surface face down on the build plate to minimise supports. Enable "supports everywhere" to ensure the screw holes and USB-C port are supported during printing.
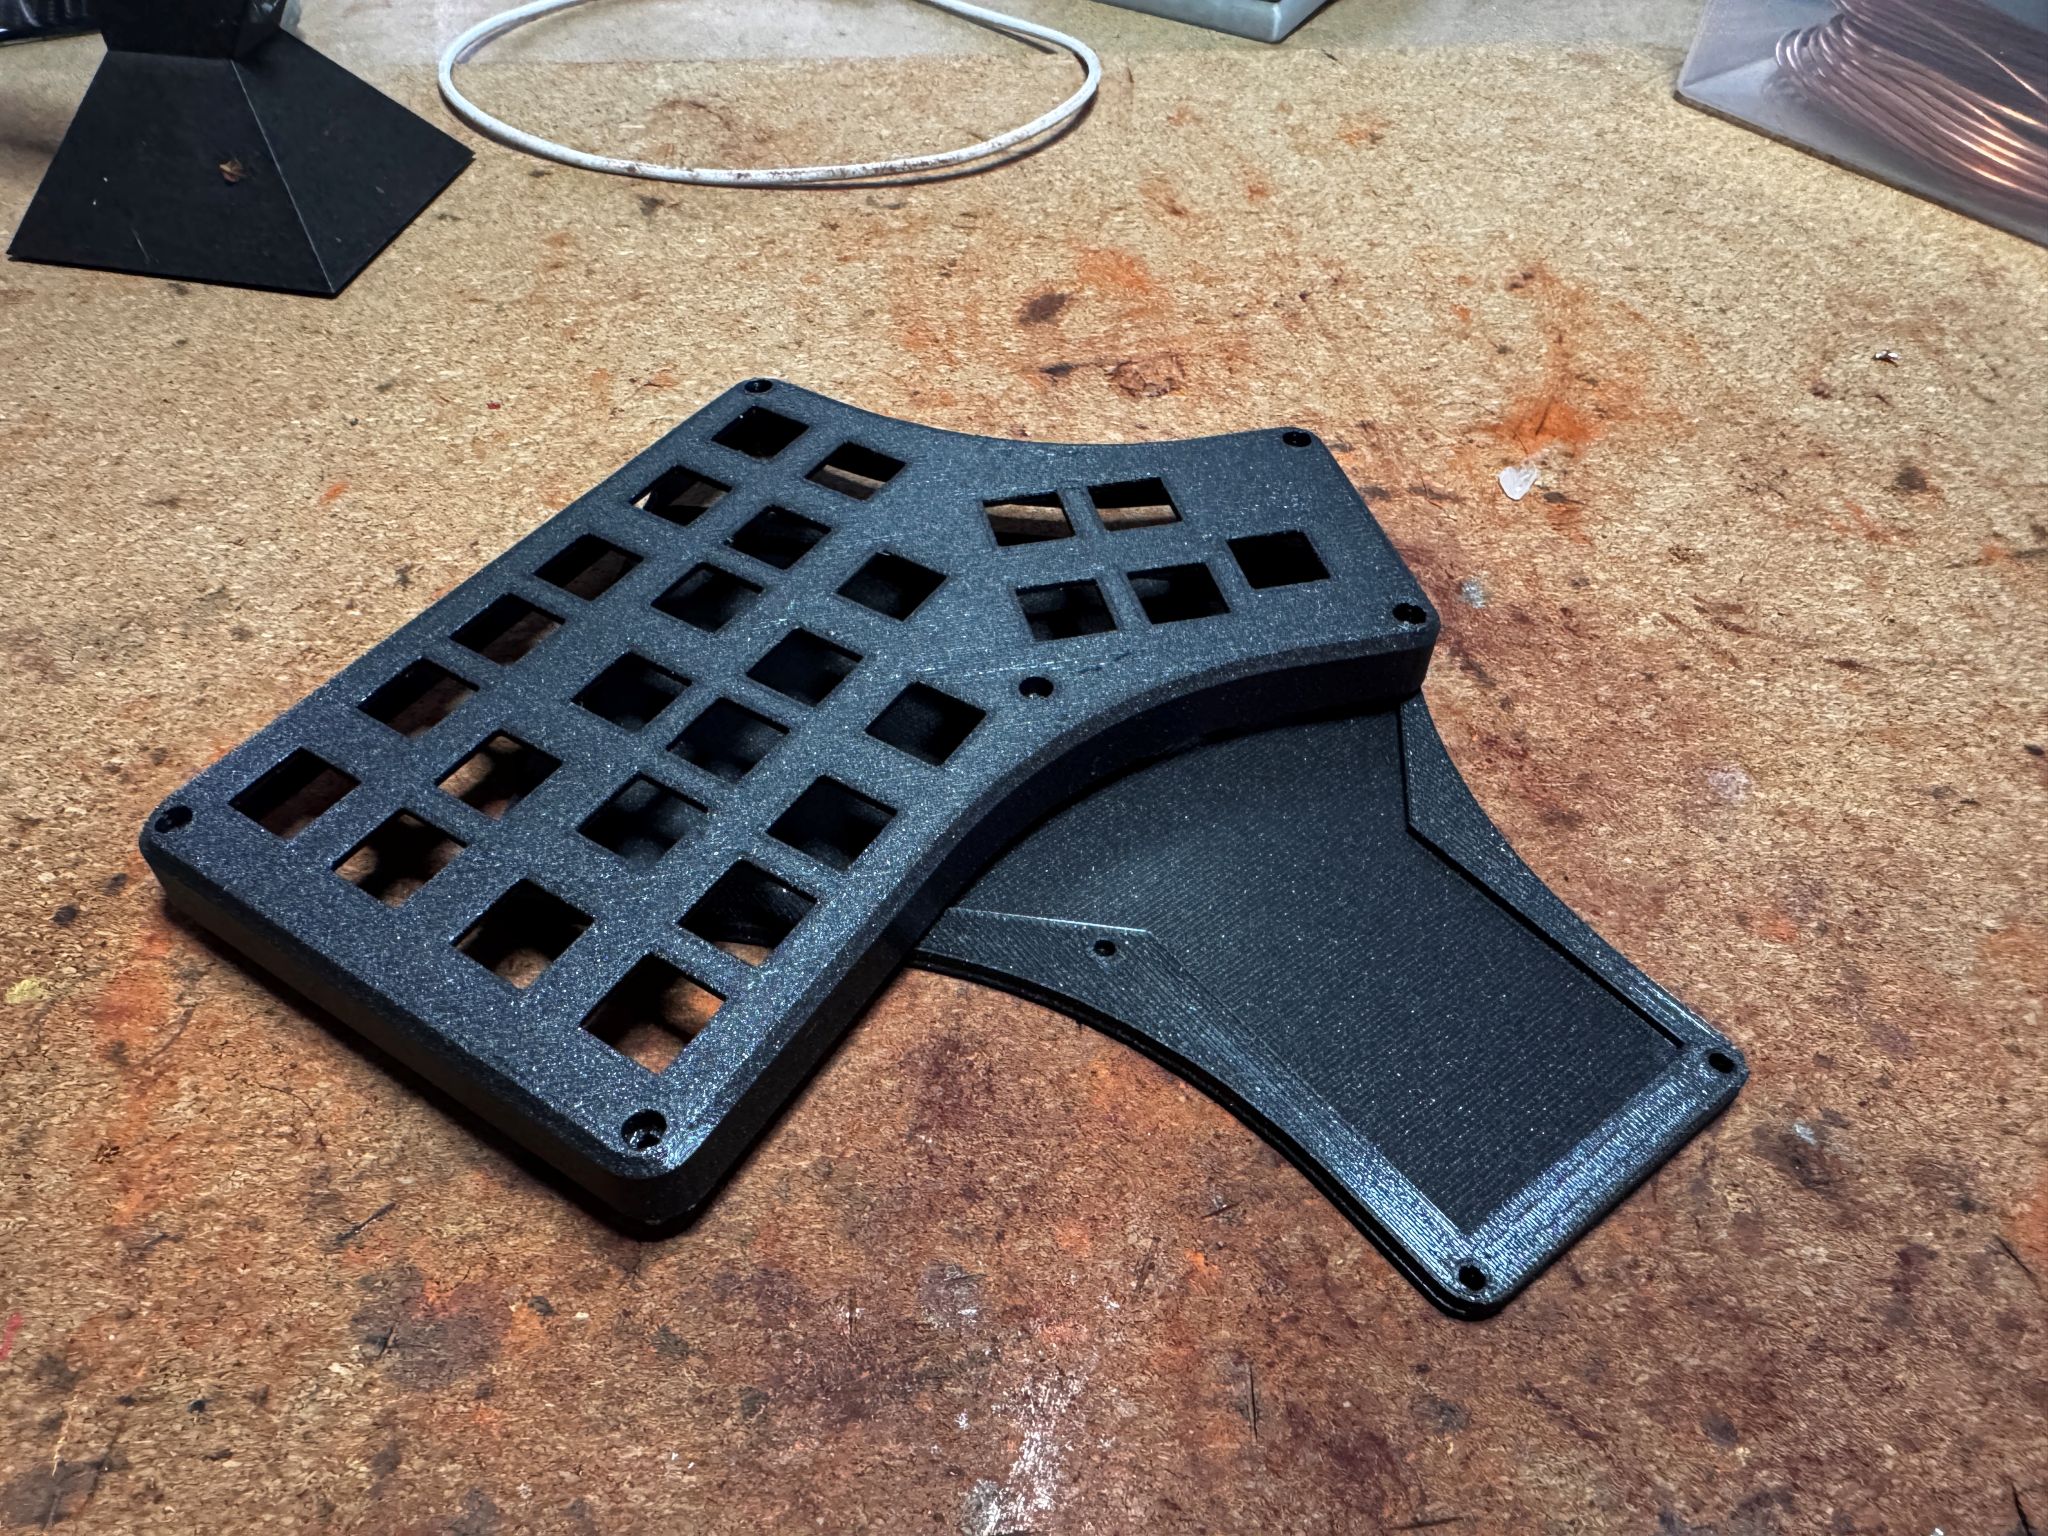
Once done you should have something a little bit like this:
Paint and weather
For me this part is the most fun, but also one of the most time consuming parts of the build. If you don't want to paint your keyboard, you can completely skip this section.
If you want to go super grungy, you can use a hot soldering iron or files to add some damage and dings to the model before you start painting.
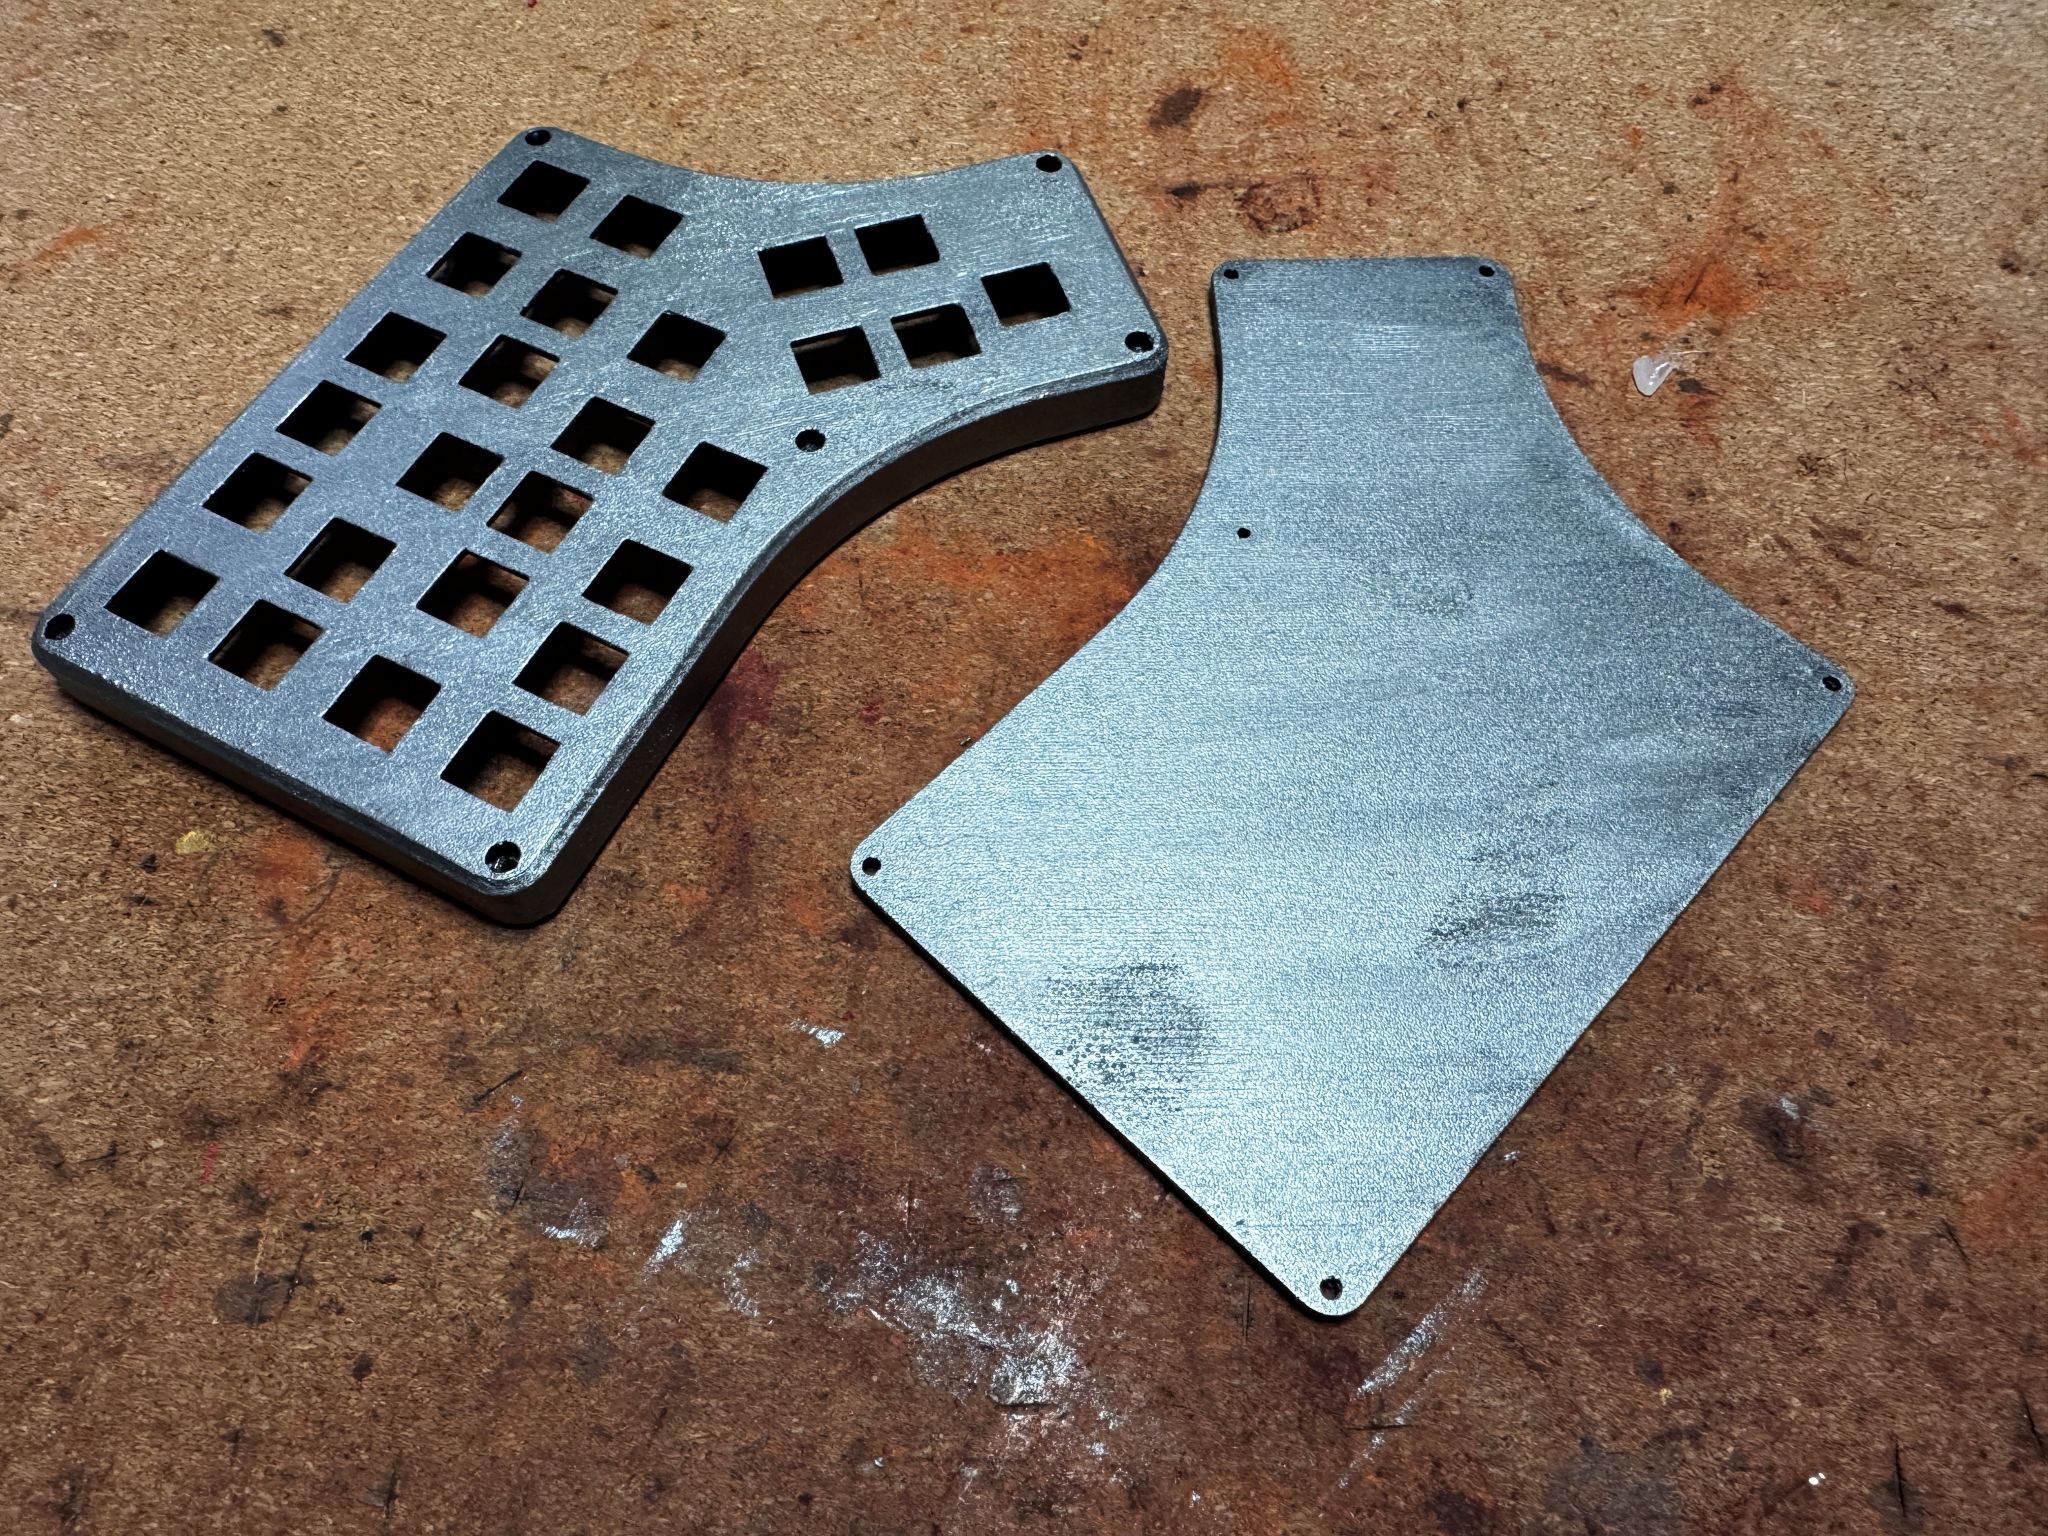
Start with a base layer of gun-metal silver. I normally do two coats of this. Try to follow the direction of your print lines as this will help create a "brushed metal" texture. Once it has dried, I apply some light burning to the paint using the lighter — this causes the paint to bubble and will help with the dirty/rusty look later on.
Next, heavily water down some black acrylics in small bowls (I use bottle caps from my ADHD meds) and then roughly apply all over the surface, sides and bottom of the keyboard. Let it settle for around 10–15 seconds and then dab it off using a paper towel. Repeat using different shades of brown until you feel that the board is sufficiently grungy. If you feel like it you can even add a couple of splashes of green and red. Be sure to let paint run down the sides as you go. The important thing here is adding lots of layers. If you like, you can also add small "scratches" on the outside edges using silver paint to make it look like newer damage.
Once the paint is dry, use a combination of glue/modpodge and weathering powder to add some rusty spots. Start with the lighter colour rust powder, let it dry and add some darker spots in the middle. If you beat up the board with your soldering iron earlier, be sure to add rust to those parts too. You can also use a makeup brush or other fluffy brush to add a thin layer of rusty/dusty mess to other parts of the board. If the rust looks too clean once it's dry, feel free to add another layer of watered down weathering paints on top.
Finally, give the whole board a LIGHT spritz with the matte clear varnish to seal in the weathering powders, or if you prefer you can also use matte mod-podge. Don't worry about being perfect — any imperfections will just add to the grungy effect!
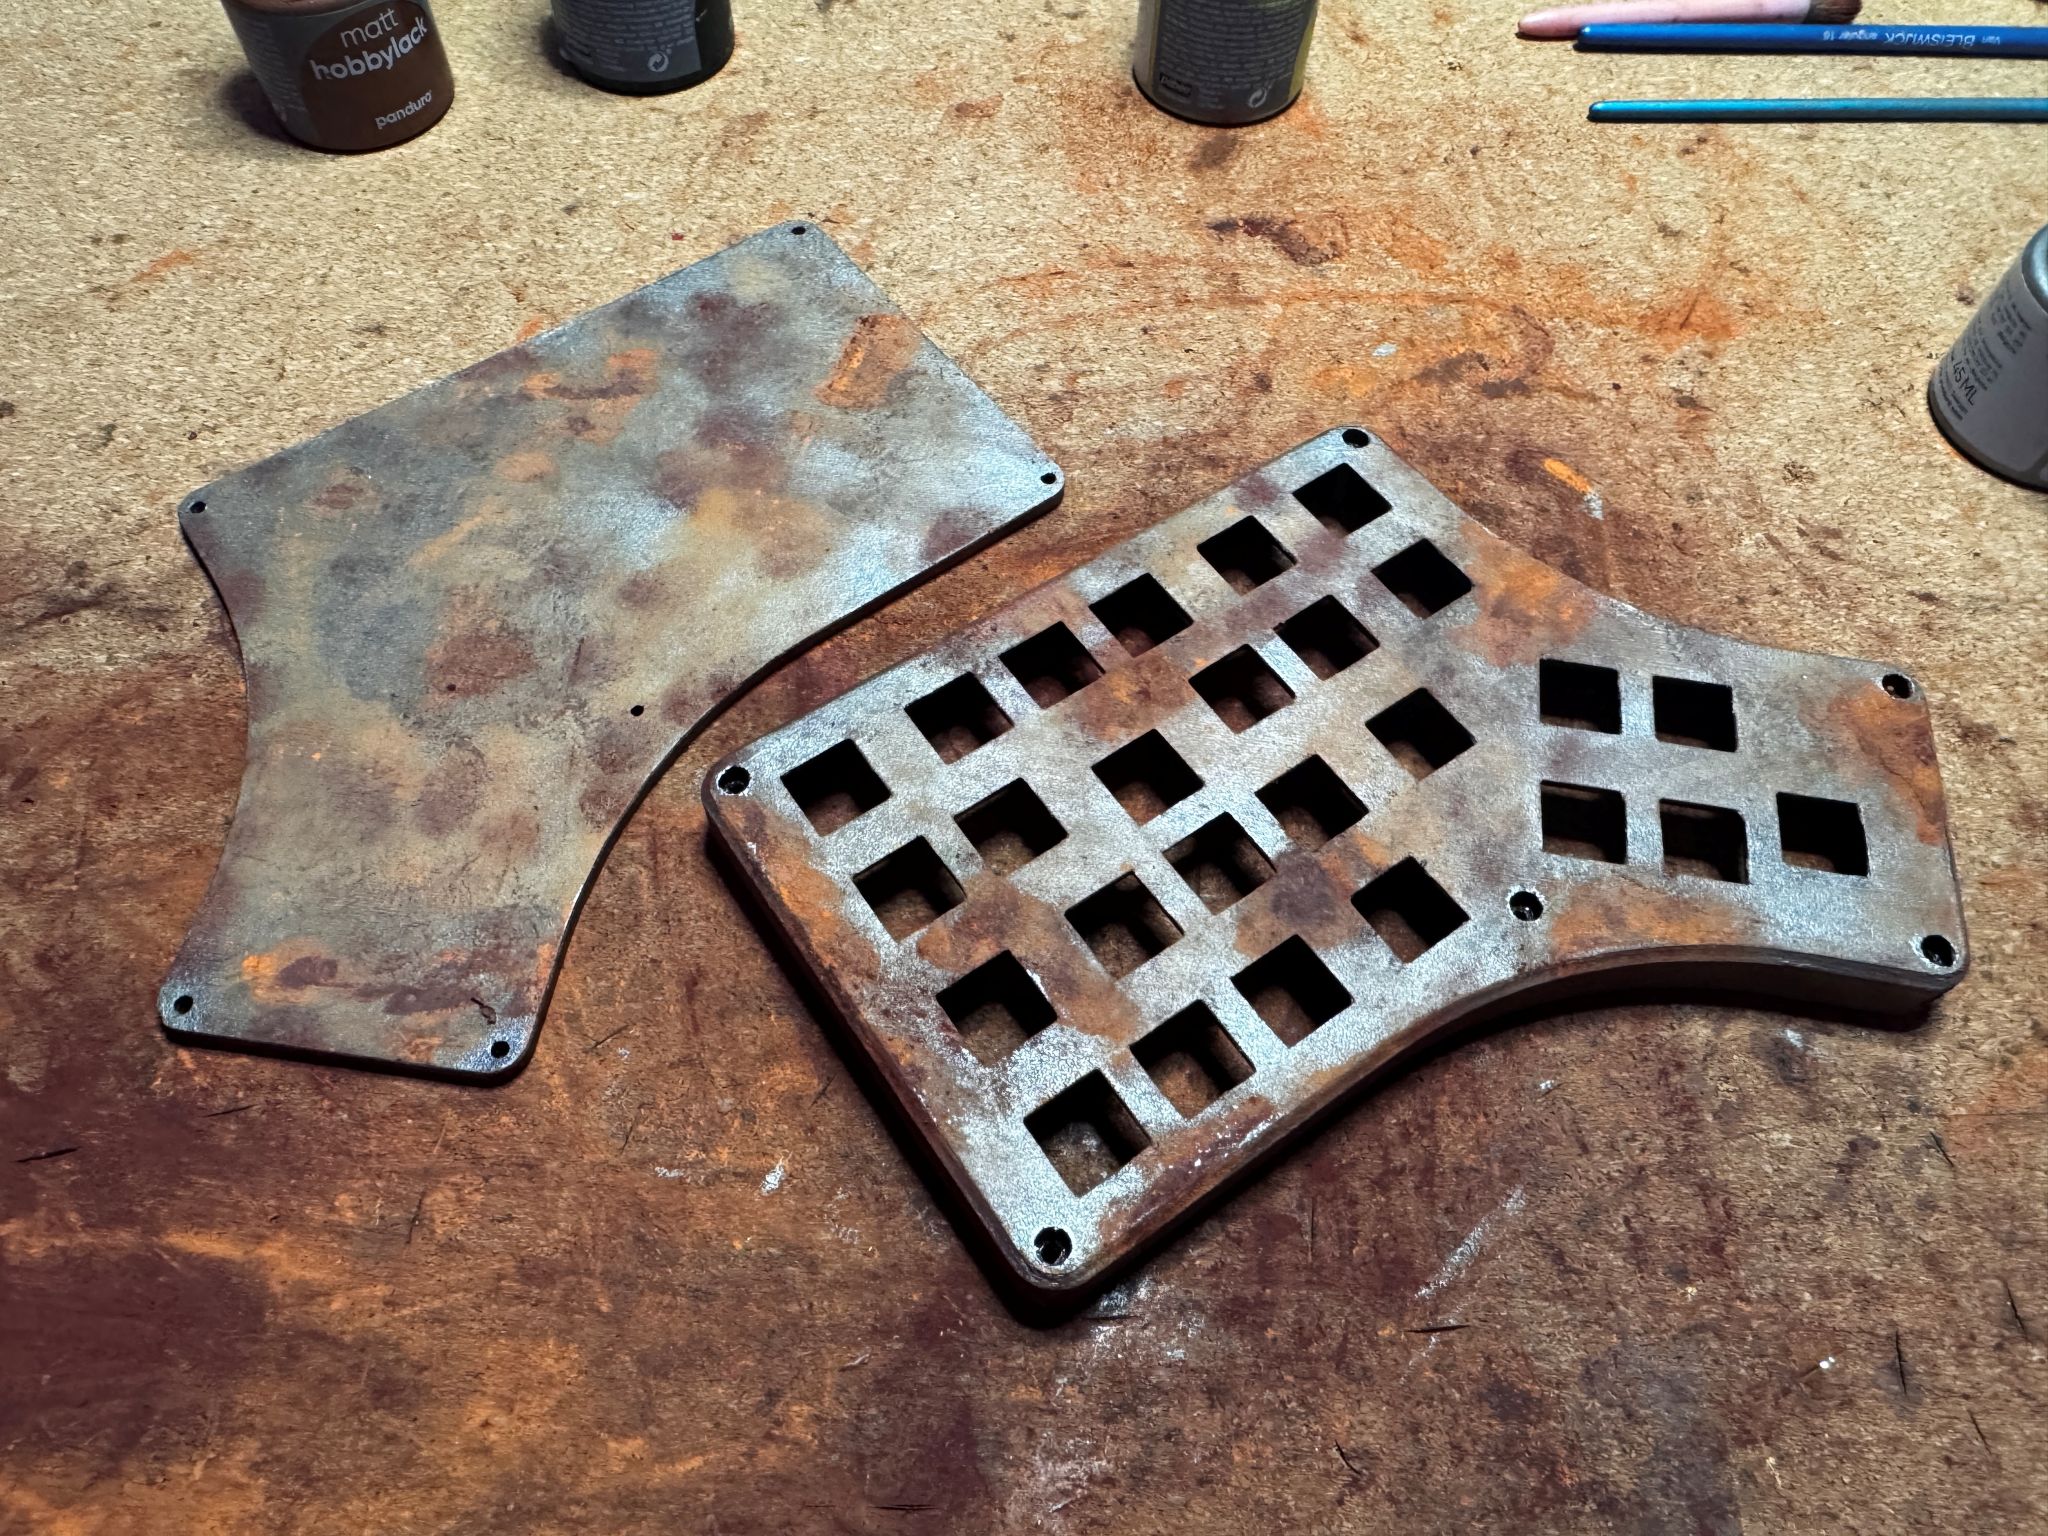
With the painting complete, you should have something like this (and likely a very dirty desk… don't be like me, put some newspaper down or something!):
Build the keyboard
Coming soon — this section is still being written.