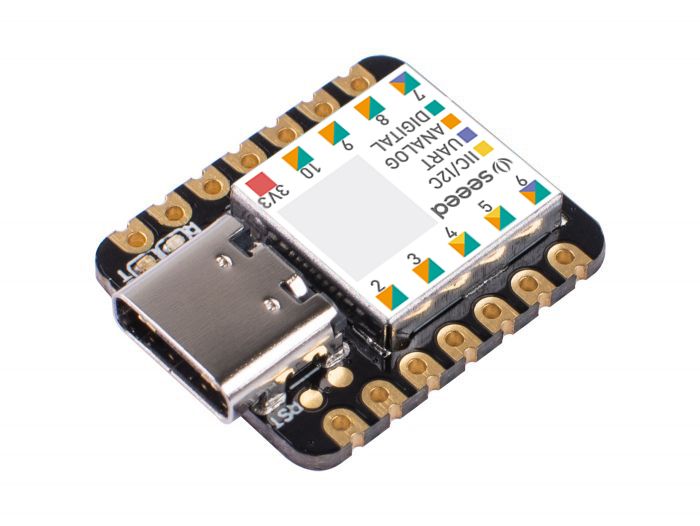
I recently acquired a Seeduino Xiao and it’s a great value Arduino dev board at only ¢6+ shipping. Not only is it cheap as chips but it’s also tiny and comes with a huge amount of GPIO pins (11 Analog/Digital pins, plus 3v power, 5v power and ground) and also has support for I2C, SPI and UART. The size combined with the low cost makes it great for hacking together a variety of little maker projects from wearables to small USB HID devices.
I’ve done a bunch of projects using Arduino, but I find the IDE to be buggy and generally not fun to use. Lately, I’ve been preferring CircuitPython based boards like the CircuitPlayground, Feather and Itsy Bitsy boards from Adafruit and luckily, the Seeeduino Xiao is powered by the exact same SAMD21G18 chip that runs so many of the M0 boards from Adafruit which means that it’s also able to switch to use Circuit Python with just a few minutes of effort.
Sadly, there is no official documentation on the Seeeduino site on how to achieve this so I thought it would be valuable to write a little mini tutorial on how to install circuitPython on the Seeeduino Xiao
Installation Instructions:
- Download the CircuitPyython Bootloader. You can get this from the official CircuitPython website. Click the big button that says “Download UF2 now” and you will get a small file.
- Plug in your Seeeduino Xiao. You’ll need a male USB-C cable.
- Enable bootloader mode. This is a bit of a pain in the butt as it involves shorting a couple of tiny pads next to the USB-C port twice in quick succession, but gets easier once you’re used to it. Simply follow the guide on the Seeduino Wiki which includes a nice animated gif.
- An external drive should now appear on your machine called “Arduino”. Open it up and drag the CircuitPython UF2 file onto it. Once the transfer is complete, eject the drive and unplug the USB-C cable.
- Plug the USB-C cable back into your computer and you should have a very tiny external drive appear called
CIRCUITPY
Next steps:
You’ll notice the CIRCUITPY drive is very small. This is by design, but you’ll have to be thoughtful in what code you include. That said, I did notice a weird hex file taking up quite a bit of space on my install. Once I deleted it there was a little more space for me to add more libraries.
If you want to do more advanced functionality, you’ll need to add CircuitPython library files. You can download the official libraries from the CircuitPython website. Copy the files you NEED onto the CIRCUITPY drive into the lib directory. Due to the size restrictions on this device, you won’t be able to use more than a couple before you run out of space.
There is some good news, there are a lot of essential libraries included by default and you won’t need to copy them manually (they just work). The included libraries are listed here.
Thats it – now you just need to create a little python file named main.py and drop it onto the CIRCUITPYdrive. If you’re new to CircuitPython here’s a little test script you can install that will flash the onboard orange LED:
import time
import board
from digitalio import DigitalInOut, Direction

led = DigitalInOut(board.D13)
led.direction = Direction.OUTPUT

while True:

    led.value = True
    time.sleep(0.5)
    led.value = False
    time.sleep(0.5)
I hope this guide has been useful!
Hey there
I think there is a mistake its not
led = DigitalInOut(board.D13)
actually it’s
led = DigitalInOut(board.LED_INVERTED)
at least for the Seeeduino thats the case for other Arduino boardss you would be right
Great, thanks, I just got one of these seed boards (but the nrf52840 sense). I am going to put circiut python on it, but one question, can it be switched back to arduino ide later if I want? If so, any tips on how to do that?