One of the things that got me interested in 3d printing more than anything else, was watching those magical timelapse videos made with the Octolapse plugin for Octopi. The way those 3d prints magically grow out of the print bed was mesmerising!
Sadly, the reality of taking 3d printing timelapses with the Raspberry Pi camera module or an external webcam left a LOT to be desired.
I’ve seen some great videos about how to get high quality timelapses, such as those by GeekyFayeArt, but most of those great 3d printing TimeLapses require a DSLR to get high quality photos, an external trigger and a lot of manual stitching. I’ve been using my iPhone for photography for many years because I always found that it was more than good enough for my needs but… could it be used for Octolapse?
So I did what every millenial does when they have a question, and took to my old friend Google to try and figure things out.
Google gave me some snippets of information, lots of threads on Reddit from people asking HOW to use an iPhone with Octolapse, and even a few sniffs of actual information but no real answers. The biggest clue that I got was that you needed to either have a USB webcam or some kind of IP based camera that could provide an image over your local network.
I know there are IP Camera apps for iPhone and so I went down the IP Camera rabbit hole.
There are lots of apps on the app store that come up when you search for “IP Camera”, a lot of which are total garbage, and some good ones which do everything except provide a static endpoint for a single photo (which is a requirement for Octolapse). From what I can tell, there are currently no free apps that work with Octolapse. So I started looking at paid apps and after throwing a few euros down the toilet I eventually found a €0.99 app called iPCamera – High End Network Cam”
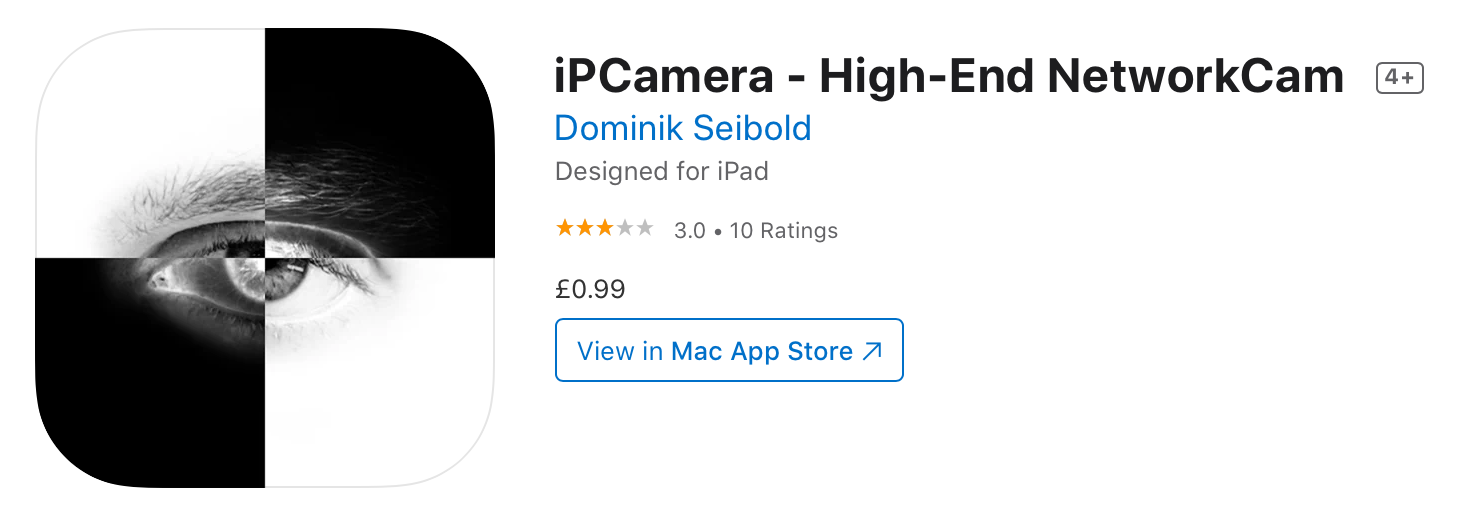
(click the image to go to the app store and buy the app)
When I first started testing this app it seemed that it sadly didn’t support the image endpoint that I needed to work with Octolapse, however after a bit of URL hacking I discovered that it did have one, it just wasn’t documented! So… a few hours later and some messing with settings in OctoPi I managed to take this:
https://www.youtube-nocookie.com/embed/dlN0Q7GeEvw
I know, it’s crap, sadly I mis-aimed the phone and didn’t get a great shot but as a proof of concept, it worked!
After this, I decided to take recordings of my next couple of prints and managed to get some pretty successful timelapses AND it works in horizontal and vertical formats just in case you want to upload to Instagram Stories or Reels or Tik Tok and the like. https://www.youtube-nocookie.com/embed/y8fUTNVFtGw Still needing some work, but getting better. Shooting in higher res allows for cropping in post! https://www.youtube-nocookie.com/embed/L0G9z7ht1EI Better, but my lighting setup is still poop. I’ll figure it out one day 🙂
So… how do you do it?
I’m going to assume that you know how to setup Octolapse (and if you don’t there are a million tutorials on YouTube) and that you to download and install apps from the app store.
Start by getting the IP Camera app
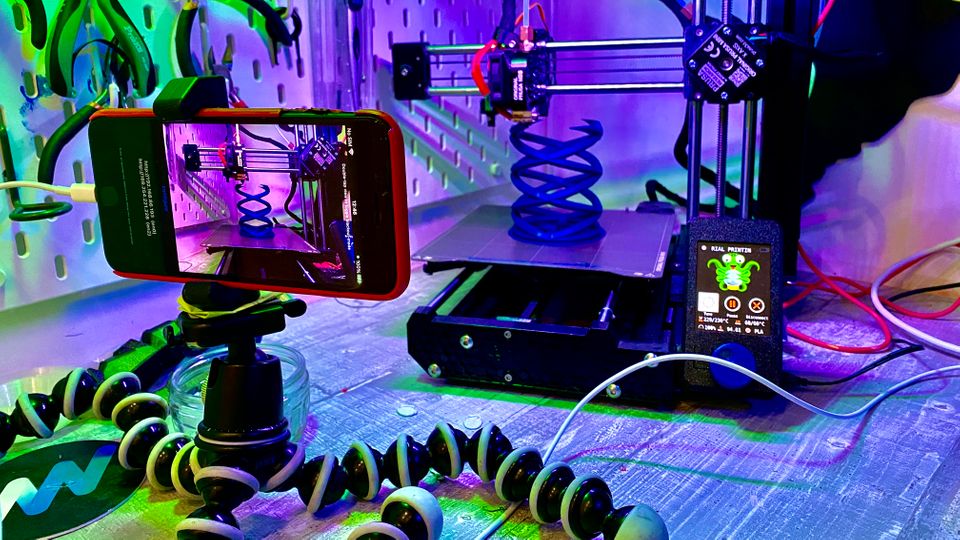
Next, set up your iPhone on a tripod or whatever. You’re going to want to plug it into a power source because it’s going to be sitting still streaming video for the next couple of hours.
Next, open up IPCamera on your phone and click on the blue link below the preview that says “configure”. From here you can pick your camera, resolution and quality. These define the final dimensions of the timelapse and the physical file size. Obviously the bigger you set them, the bigger the final video will be and the longer it will take for Octolapse to stitch it all together. I cranked up the settings on the iPhone 7+ I was using and the two hour Pikachu came out as a 4GB file (which my Pi 3b+ took a LONG ASS time to render).
For most people, 1920 x 1024 will be more than enough (but I do find that shooting in a slightly higher resolution is super handy in case you want to crop in post production while maintaining a HD end result!)
DO NOT CLOSE THE IPCAMERA APP FROM THIS POINT FORWARD
Note: This app hasn’t been updated since 2019 and doesn’t seem to be setup for newer phones with multiple lenses. On my iPhone 11 Pro it would only allow me to max out the resolution at 1024 x 768 but I could go significantly higher on my 7+ getting timelapses up to 4k!
Next, you need to go into the Octolapse settings, find the camera tab, add a new camera and aside from giving it a name, you just need to add the following information. Be sure to substitute the IP address in the Base Address field for the one listed in IPCamera.
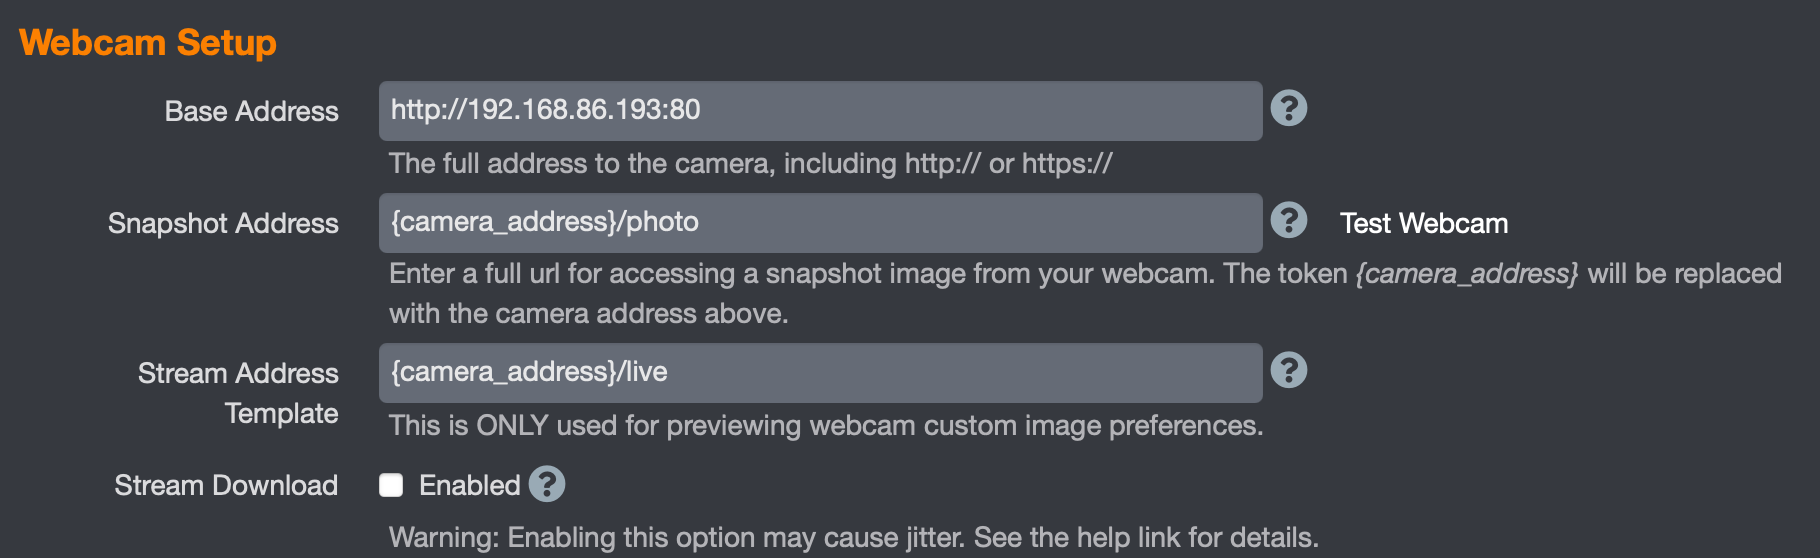
Make sure your “Snapshot Address” and “Stream Address” fields match the above too.
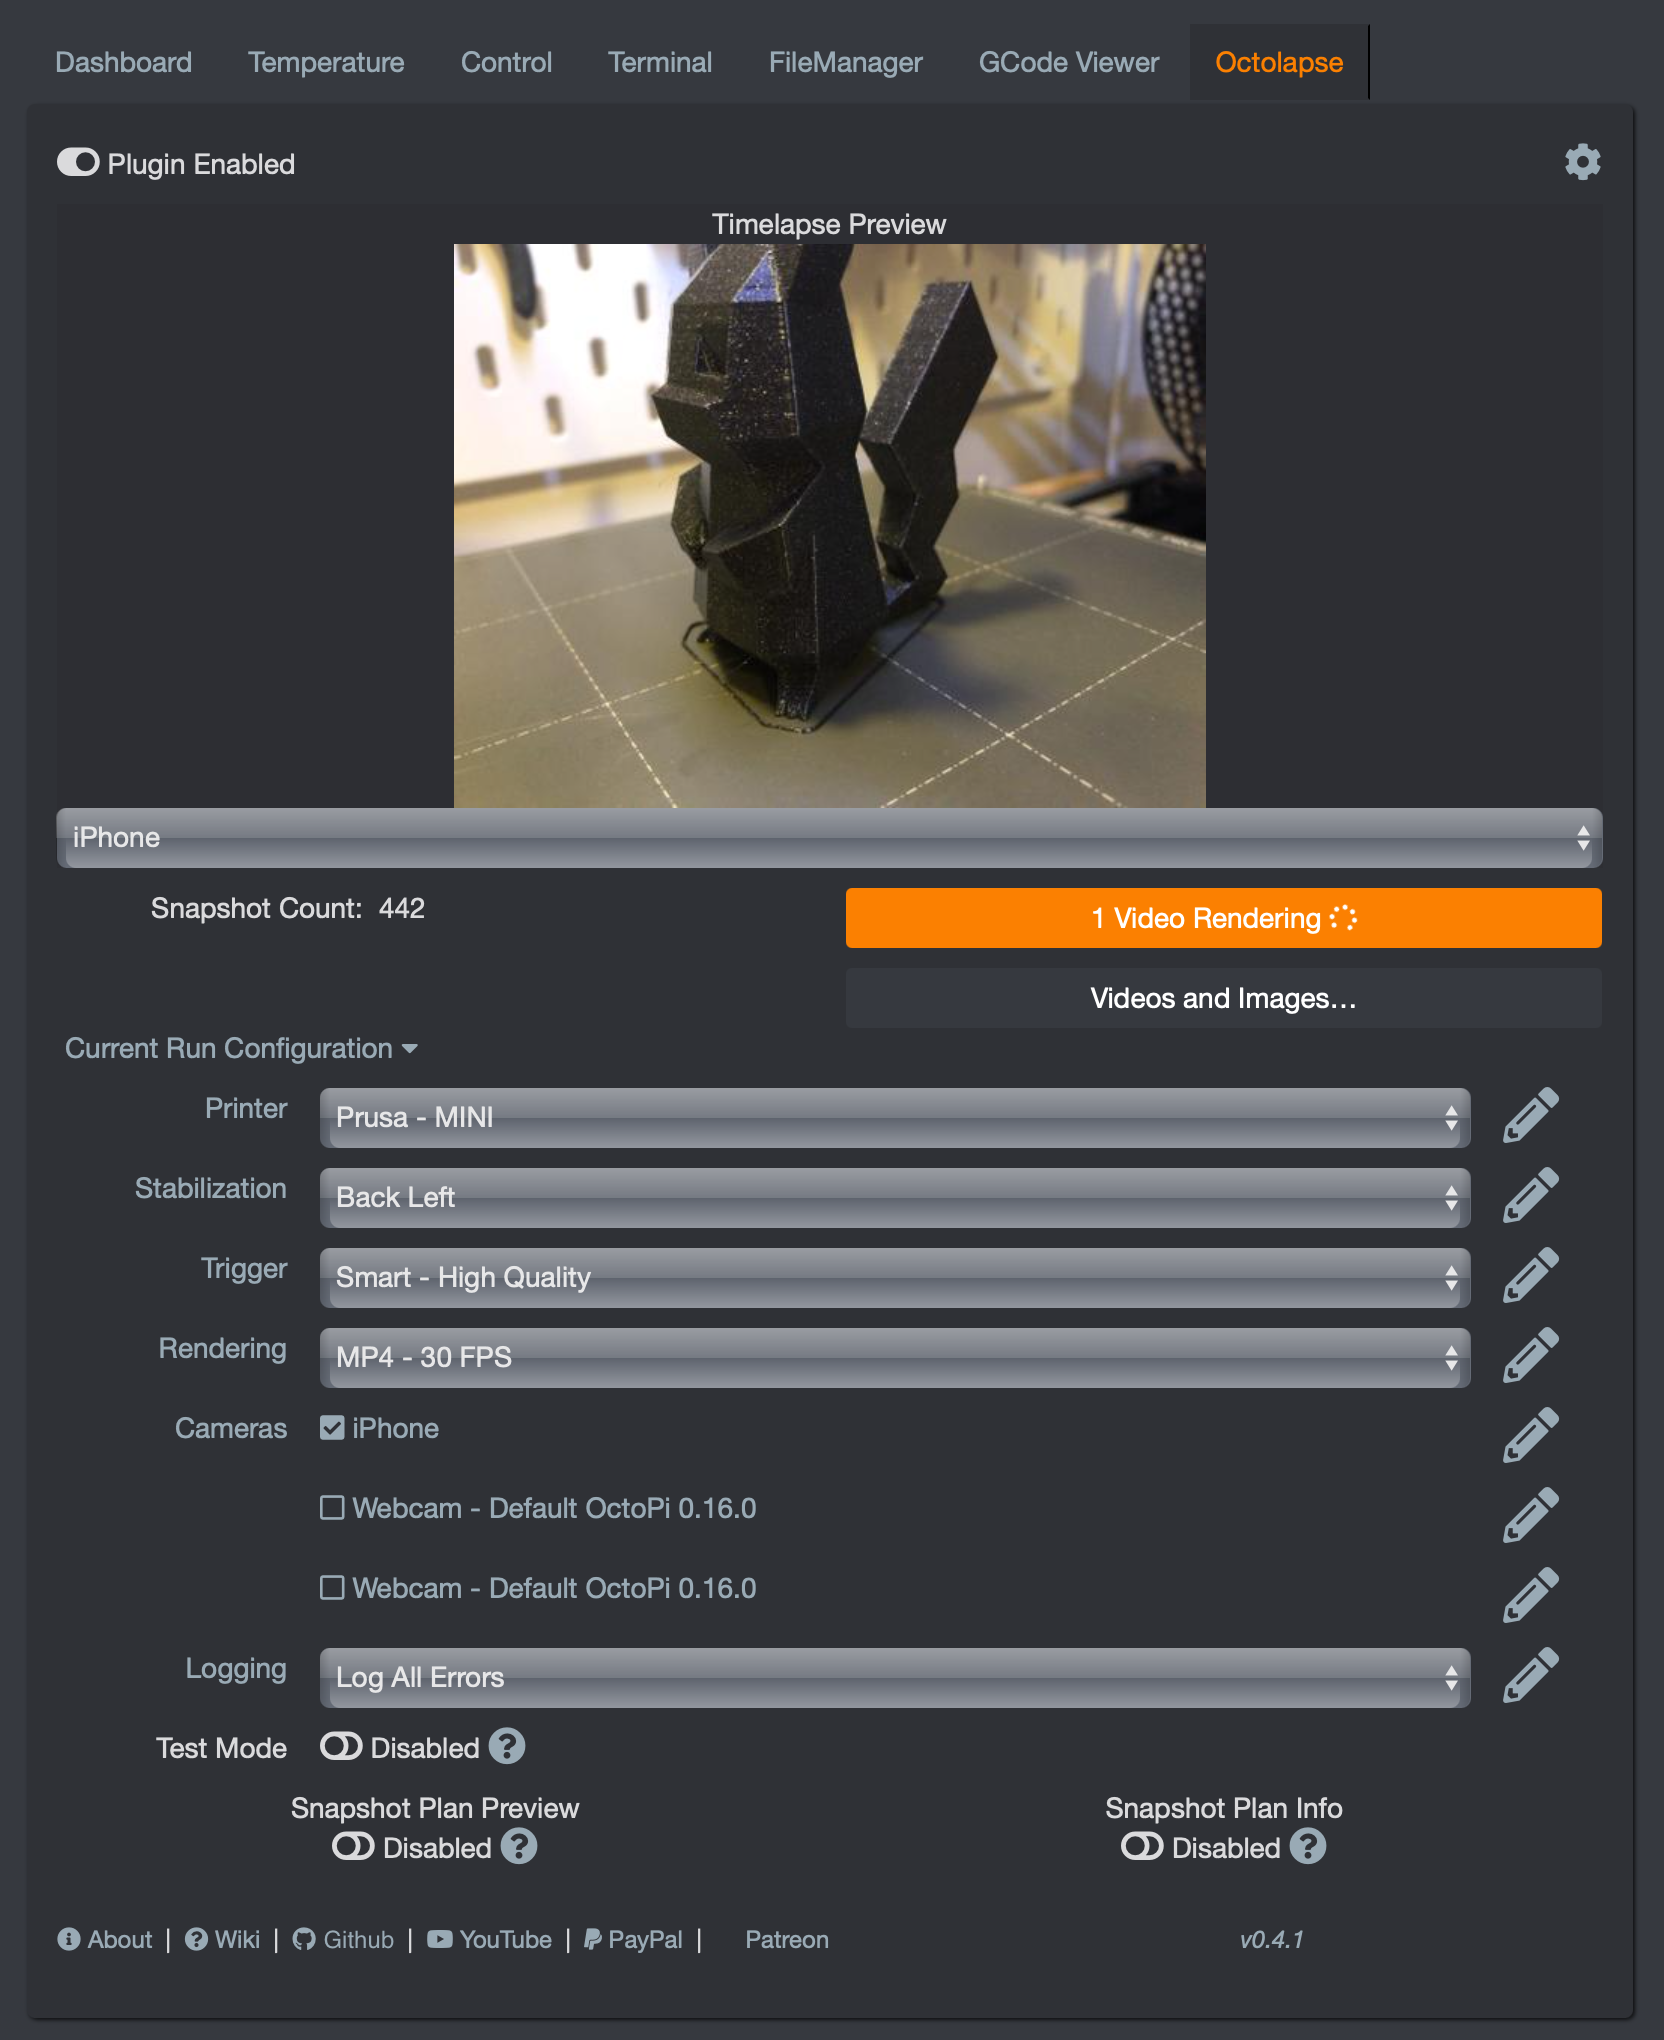
And thats pretty much it, everything else is the same as taking a normal timelapse in Octolapse. If you want to get results like mine, these are how I have mine setup for my Prusa Mini:
Tips for better timelapses:
I wouldn’t call myself an expert, I definitely have a lot to learn, but during all this research I learnt a thing or two which might help you on your own journey:
- make sure your camera is mounted on a sturdy surface that isn’t likely to get knocked around (I’ve messed up a number of timelapses because of this)
- Use the test mode in Octolapse to make sure you’ve got your camera lined up right and not so close to the print bed that it gets knocked around.
- Make sure you have a consistant, bright lighting source for the duration of your timelapse (or put it near to a window for really long prints and show the passge of time in the background).
- You might want to raise your printer up a little as it can be hard to get your camera low enough to get a good shot depending on your tripod.
- Think about how you want to arrange your print on the bed so it looks great before you slice!
- If you go to the ip address of your ipcam in your web browser there’s a web interface where you can mange a few settings including locking the exposure, white balance and photos, this will make the final result much smoother.
Finally…
I really hope this tutorial was helpful. I spent quite a few euros and many hours testing apps to find one that actually works for taking Octolapse 3d printing timelapses with an iPhone. If you have any questions or feedback you can always Tweet me (also give me a follow, I’ve been away from social for a while and I’m lonely!) or tag me on Insta. If you found this article useful, I would really appreciate you throwing a cup of coffee my way using the link below.
Cheers and happy timelapsing!
I got an address of 10.0.0.178 when invoking the app. This matches the subnet of my WiFi network. However, all tests and scripts fail in OctoPrint.
Any idea why this might be happening?