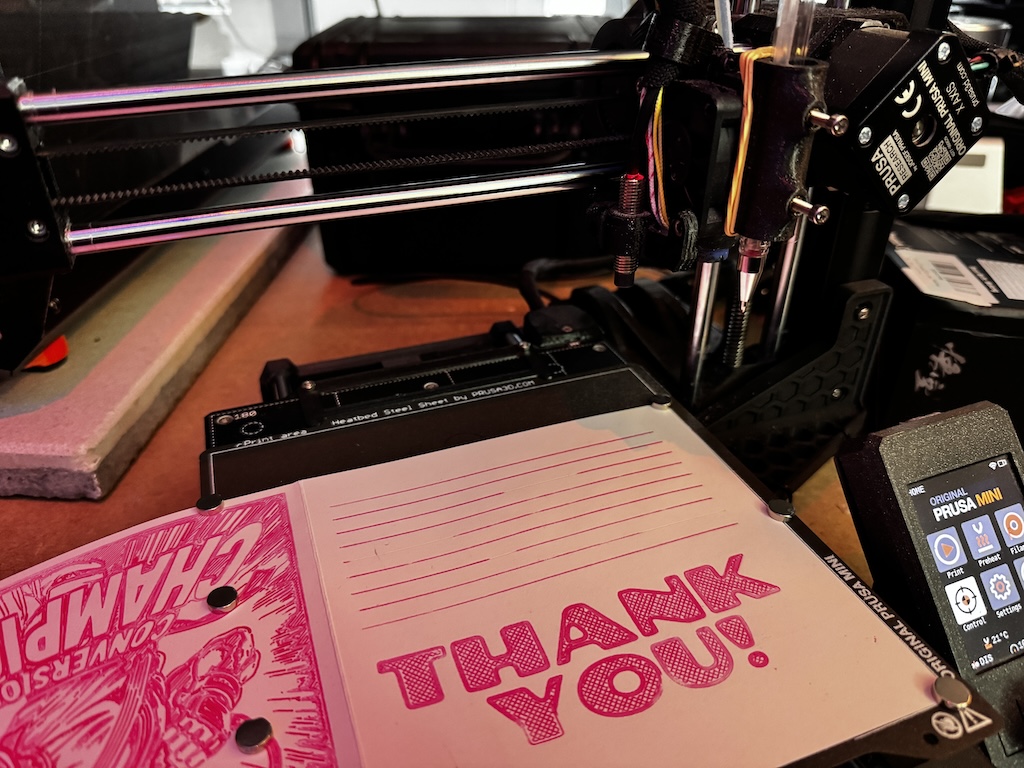
At my day job I lead a small team of designers and they are genuinely a freaking delight to work with. So I wanted to create a little something to thank them for all of the effort they have put in this year. Of course, I 3d printed them a little something but it didn’t really feel *personal* enough for my liking. At the same time, I was trying to figure out what to do with my Prusa Mini which had sat largely unused since I got a Prusa Mk4 earlier this year. While browsing modifications on Printables I came across a pen holder for the hot-end that allows you to use this tiny 3d printer as a 2d pen-plotter and this sparked an idea! Custom gift cards made by robots!
Unfortunately, my Mk4 was printing off a large batch of seasonal gnomes and wouldn’t be done for a few hours yet, so I dusted off the Mini and started downloading the files from Printables. As I started slicing, I realised – these models were designed for the standard hot-end but my heavily modded Prusa Mini was running an E3D Revo Micro which was a completely different format. Luckily, E3D have their models available to download so I took their hot-end mount and the pen holder I found on Printables and sorta smushed them together (download my remix!). 30 minutes of printing later, and I had a new hot-end. I loaded up a pencil, sent a test print and got this mess:
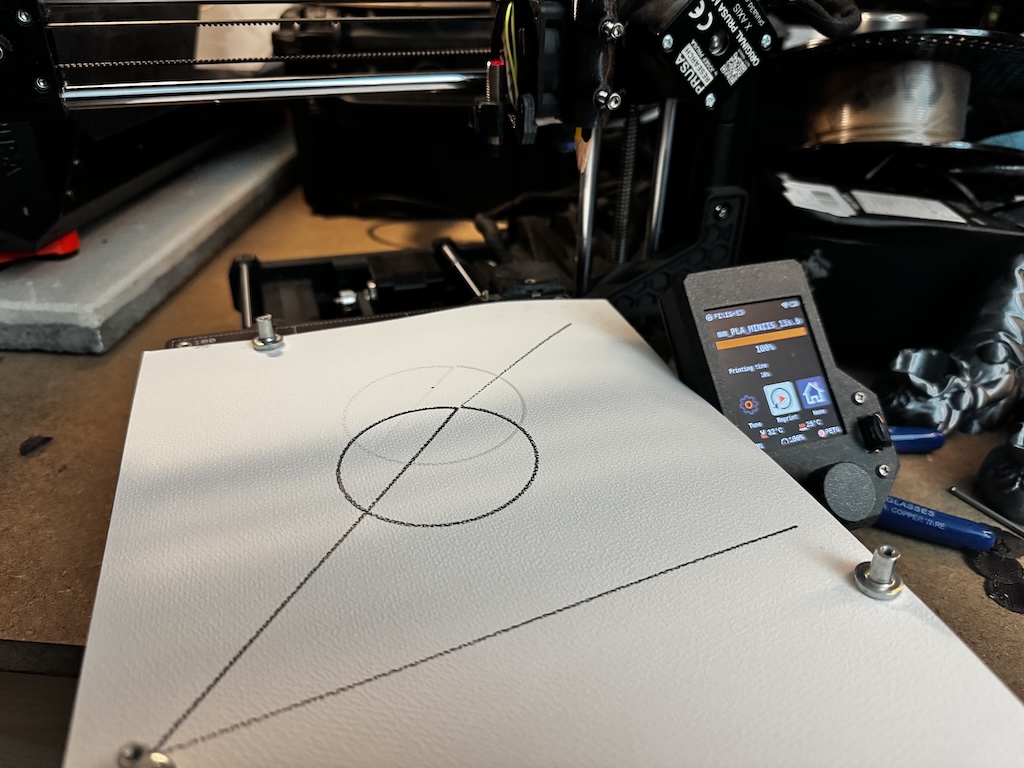
Big oof – the pencil was too low and dragged all over the place when the printer moved!
It seems the default slicer settings aren’t quite suitable for plotting! No worries, I created a couple of new profiles to handle things like turning off the heaters (nozzle and bed), removing the pre-print calibration (so the pen doesn’t stab the print bed) and most importantly, increasing the z-height so the printer doesn’t drag the pen all over the page in-between points and soon we were off to the races!
Video of the Prusa Mini plotter plotting, set to chill beats
The parts of the process so far are pretty well documented in various forms all over the internet, so we’re not reinventing the wheel here. However, most of the existing tutorials that I found describe creating illustrations in Inkscape, exporting and then using additional standalone tools to convert these directly to gcode. This is no longer necessary. Thanks to modern developments in Slicers, you can create 2d shapes directly into your slicer and even add text without any additional complexity. In Prusa Slicer it’s as simple as right clicking on the plater and selecting “add shape”. Then just set the model height to a single layer (in my case, 0.2) and transfer the file to your printer in the traditional way and print!
One cool slicer addition to note, is that you can adjust the number of perimeters and infill settings to change the appearance of your design, from solid infill to wiggly lines. Grids and stripes are also possible (see the video above for some examples!)
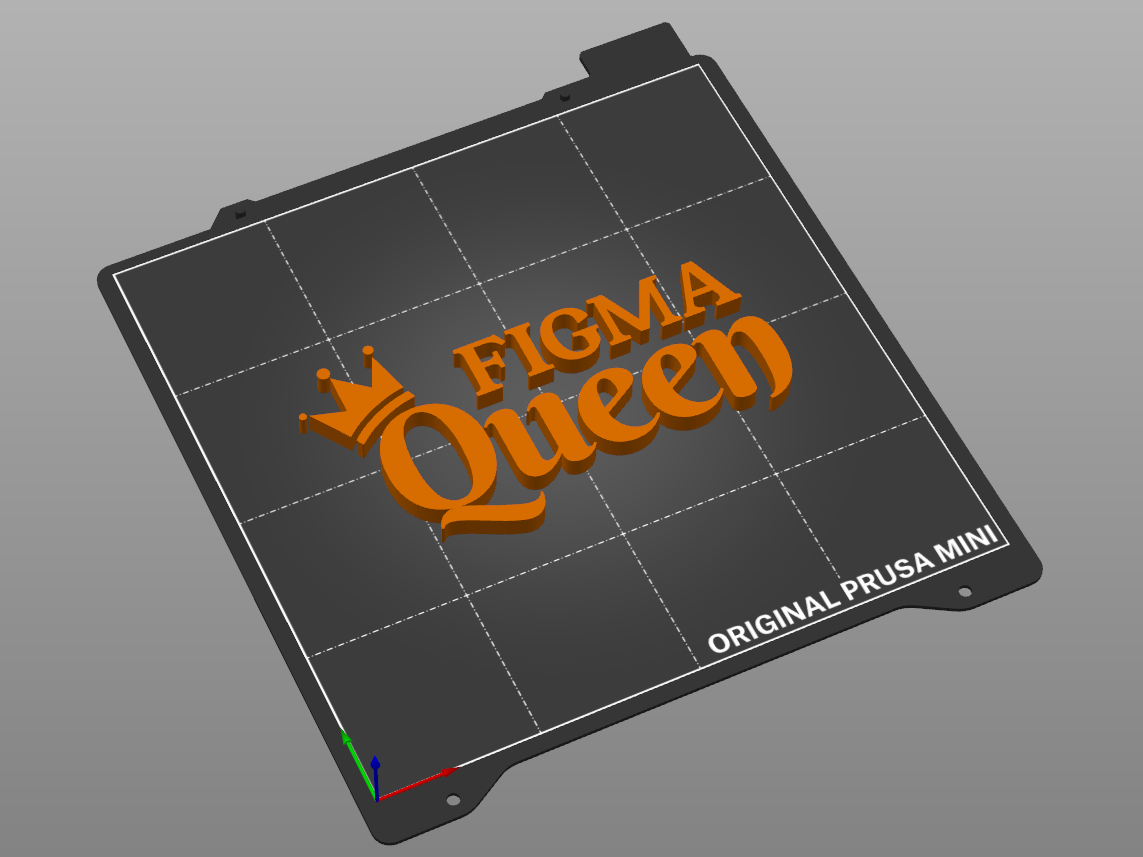
Where the fun really starts is when you start creating custom vector graphics for your designs. I use Figma on the daily, so I quickly laid out some text elements, converted them to outlines, added some icons from the Noun Project, grouped the whole thing and exported them as SVG. Then I was able to drag that SVG straight into Prusa Slicer, adjust the dimensions to fit and very quickly create much fancier looking illustrations ready to send to the plotter (Figma has a free tier and is cloud based so you don’t even need to install any software!).
These results were very satisfying and I could have stopped here but I wanted more and I wondered… could AI make illustrations for me? So of course, as any self-respecting nerd would do in this day and age, I jumped on to ChatGPT and started playing with prompts, which with some tweaking created some pretty awesome results! Just remember to ask for a “black and white illustration” specify the style (I found great results with “kawaii”, “manga”, “friendly”, “pop art”, “modern”) and the aspect ratio. Then give it any additional information, including any words you want on the card (weirdly be sure to ask for “text” not “phrase” otherwise it gets confused). So for example:
Please create a black and white illustration in kawaii style in a square aspect ratio featuring a happy dinosaur and the text “keep on rocking”
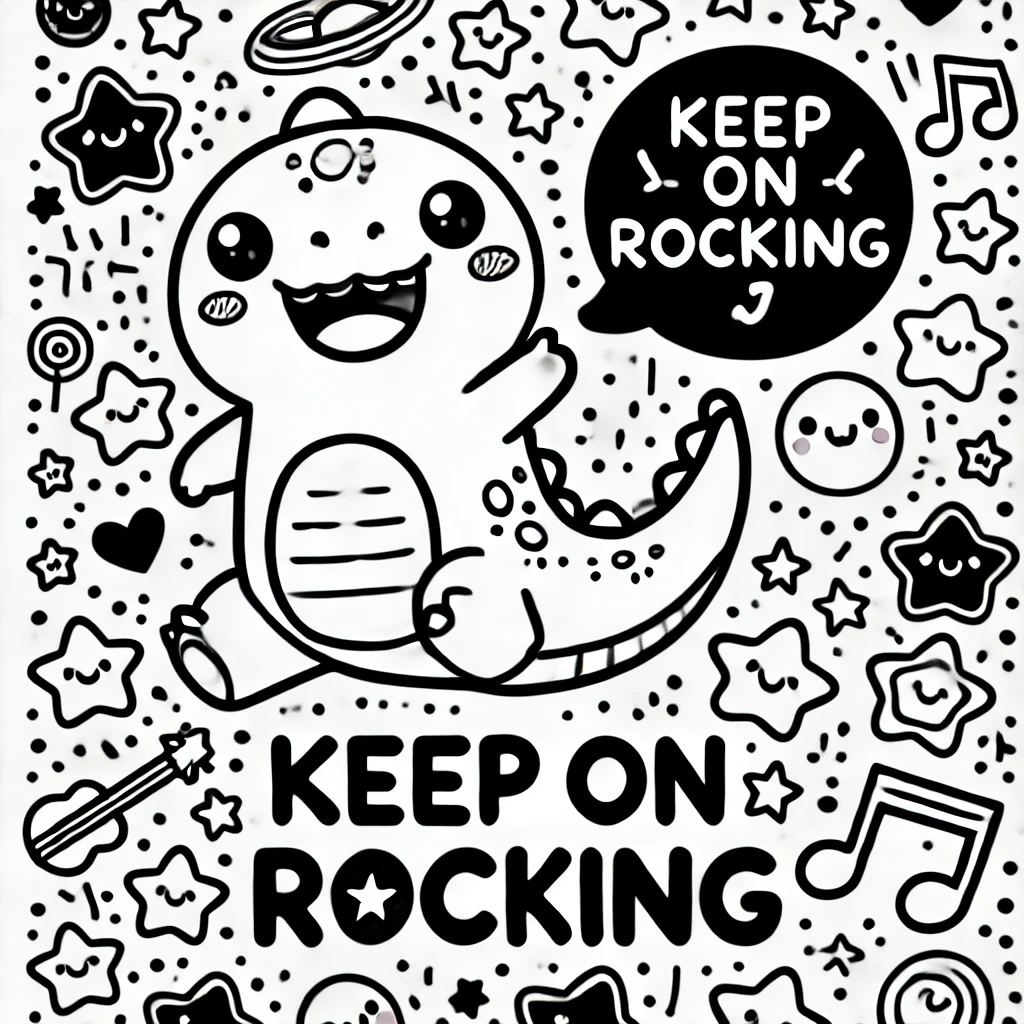
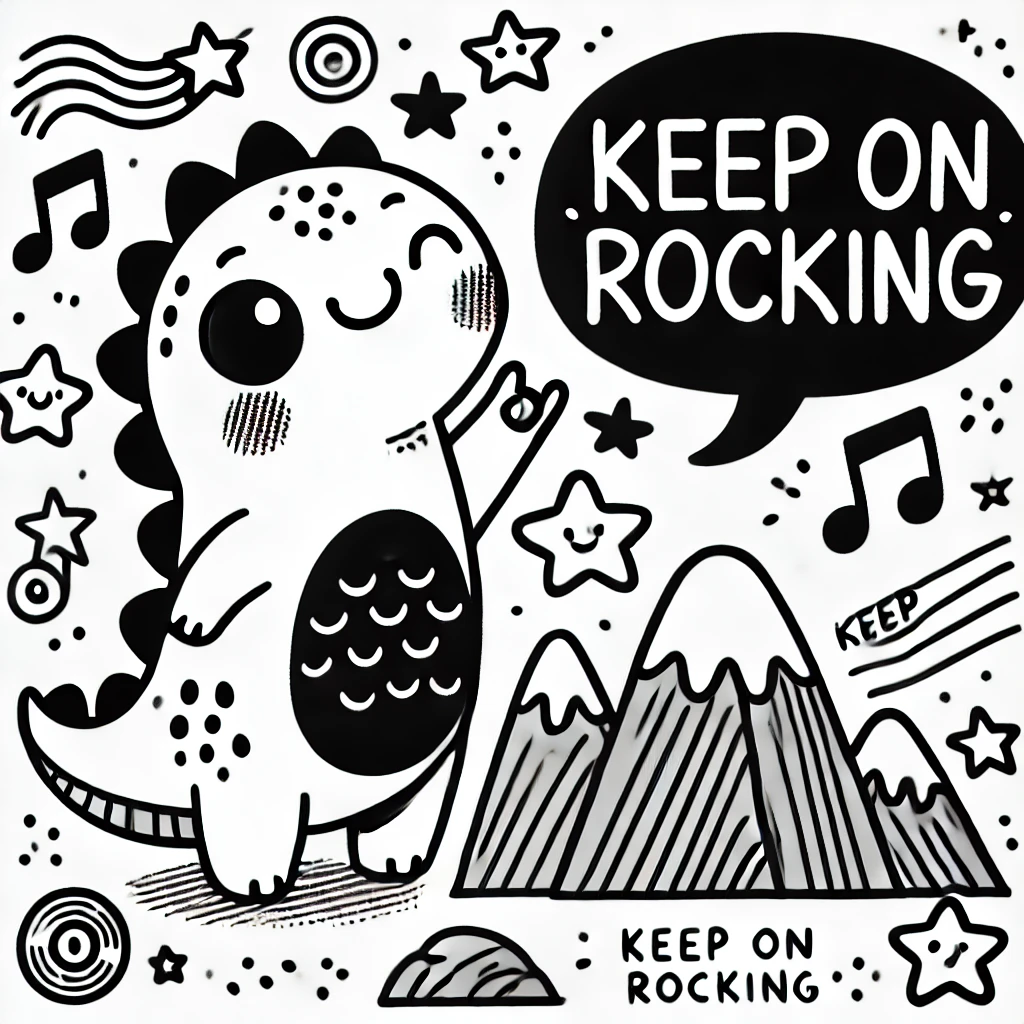
Feel free to steal these, they were created by AI so I have no idea who owns them. Probably not me.
Don’t like the outcome? No worries, just ask it to have another try (in cases where the illustration is too complex, just ask for something simpler). Just a tip – watch out for the spelling, for some reason the words will come out randomly spelt wrong and no amount of coercion will force the AI to fix it. In these cases, just start a new chat and try again – that usually puts it right again.
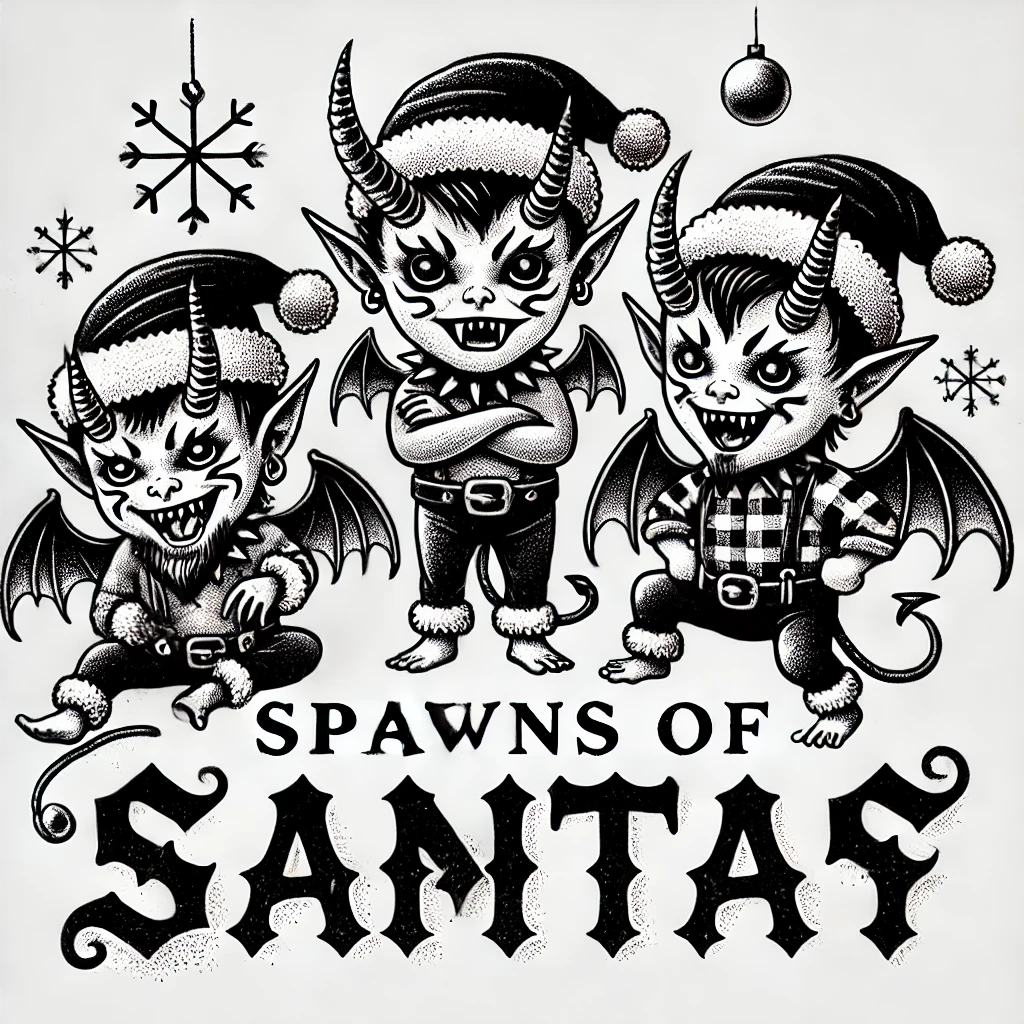
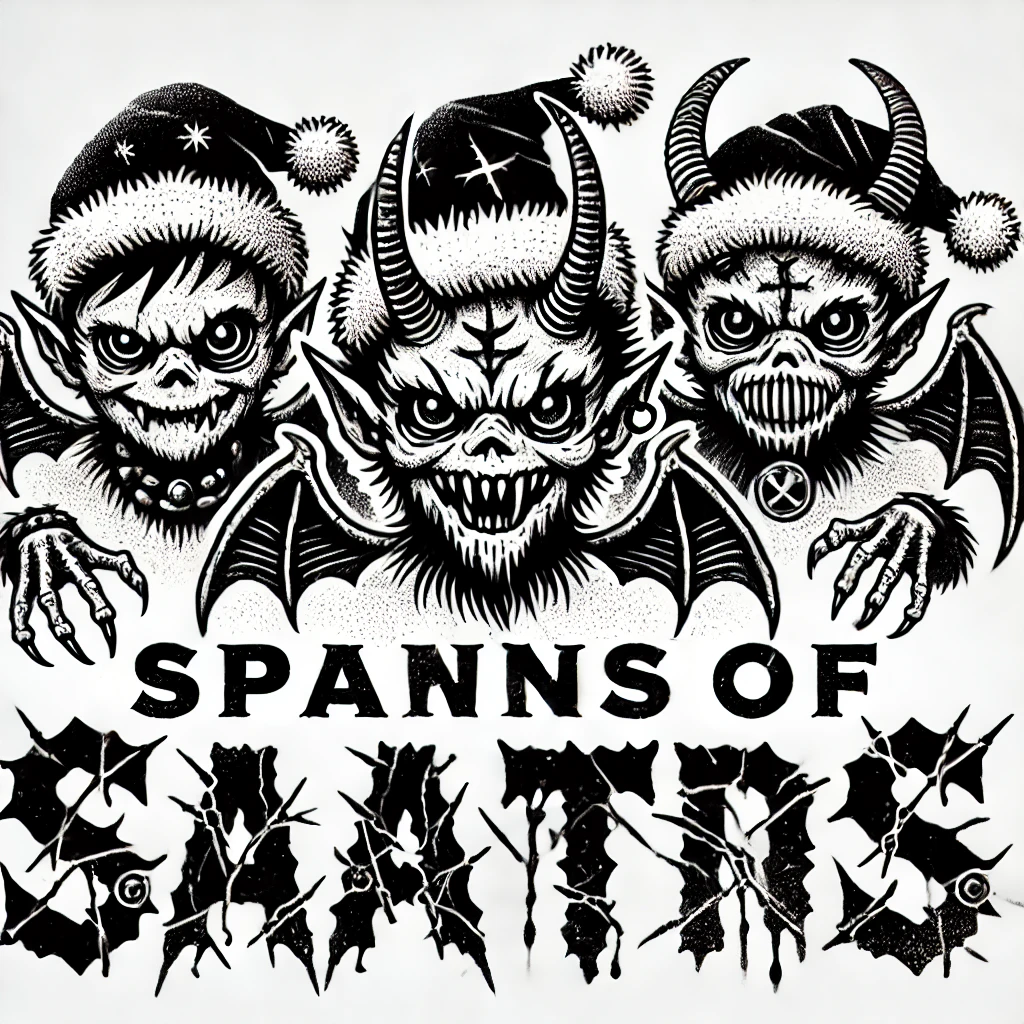
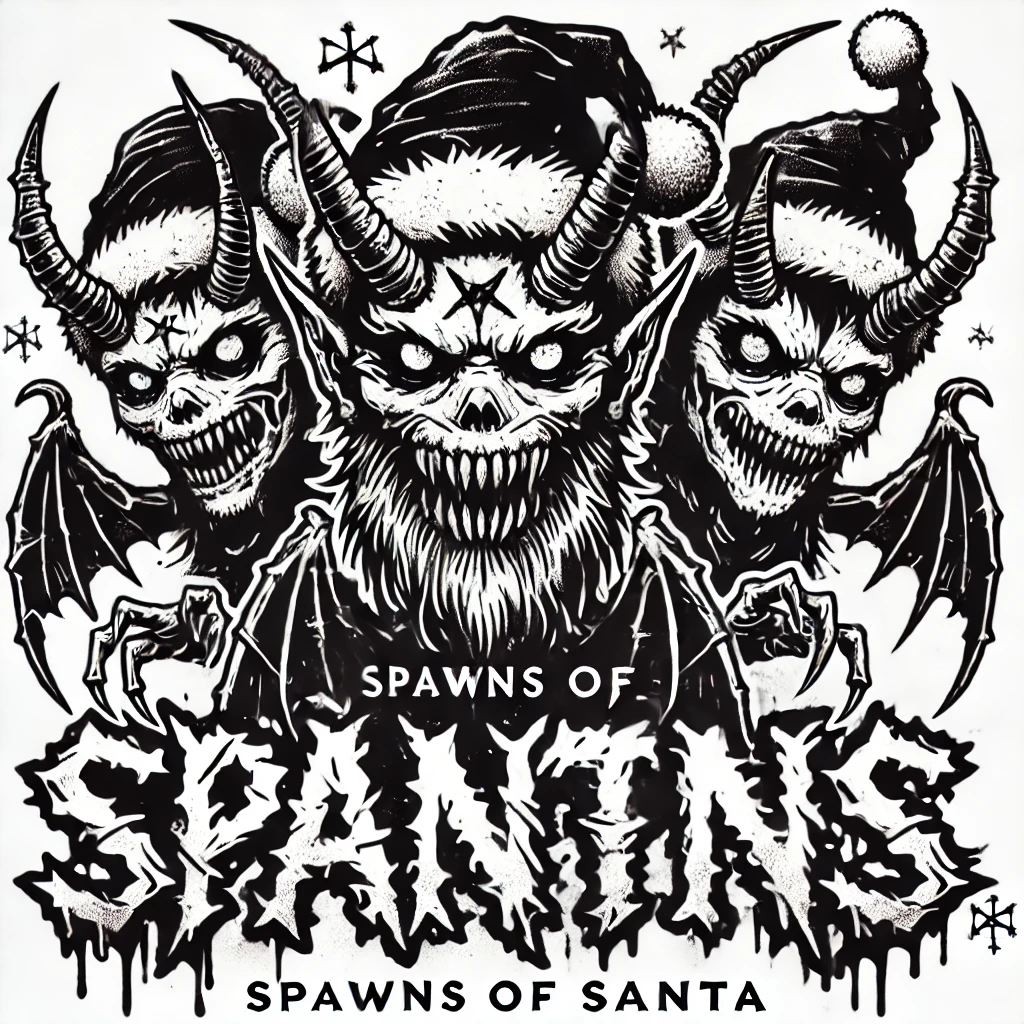
Try as I might, ChatGPT refused to spell “Santa” properly.
If you are using Chrome, for some reason, ChatGPT likes to create WebP files but no worries, just ask ChatGPT to convert it to an SVG! Some files will be a little noisy for plotting so in those cases, I may take them into Figma and clean up some of the noise.
In the near future, I will upload some examples of the greetings cards that I actually made using this process, but for now, I don’t want to ruin the surprise for my colleagues!
If you have any questions, feel free to comment on this post below or drop me a message on Mastodon!